
Asset Management - create/edit/delete
This section will cover how to directly edit the asset in the Webapplication without using the import/export function with excel. This new feature was added to the release in CORTEX Service v2023.02.
TLDR;
You can edit the asset directly and very visual in the MAP workspace. When you have the right permission you can select one or multiple assets using Orange Action button top right dropdown > Edit Asset(s) .
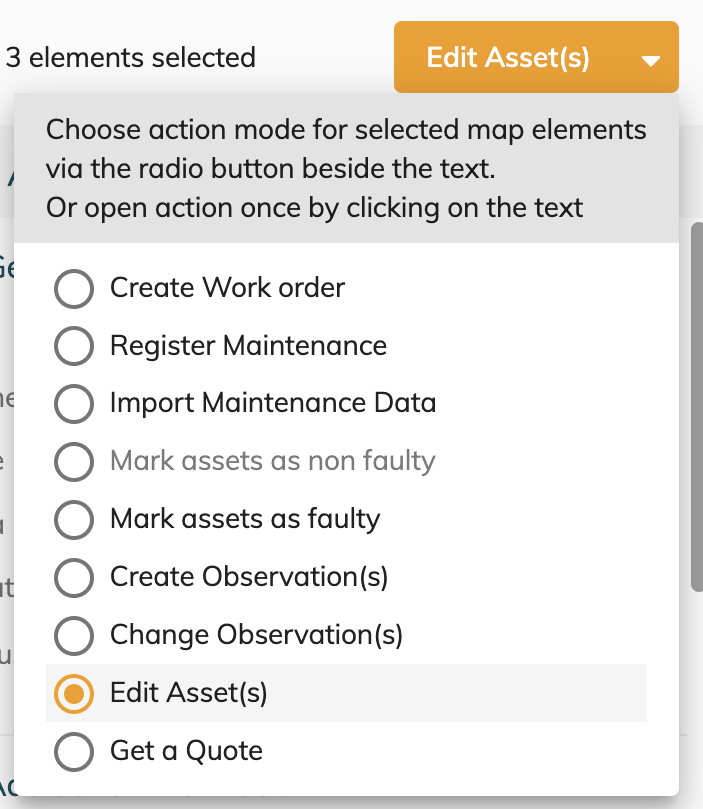
Pro-Tip: You can change the radio button selection to modify your default action button behaviour!
Looking for an easy way to collect the different Product data field or location data when installing or receiving your products? Use our https://scan.airside.cloud/ Mobile Web App tool to create a list of your different products. More information on How -to Scan to Collect
Edit an asset
In the Edit Asset(s) feature, you can make changes directly to the assets.
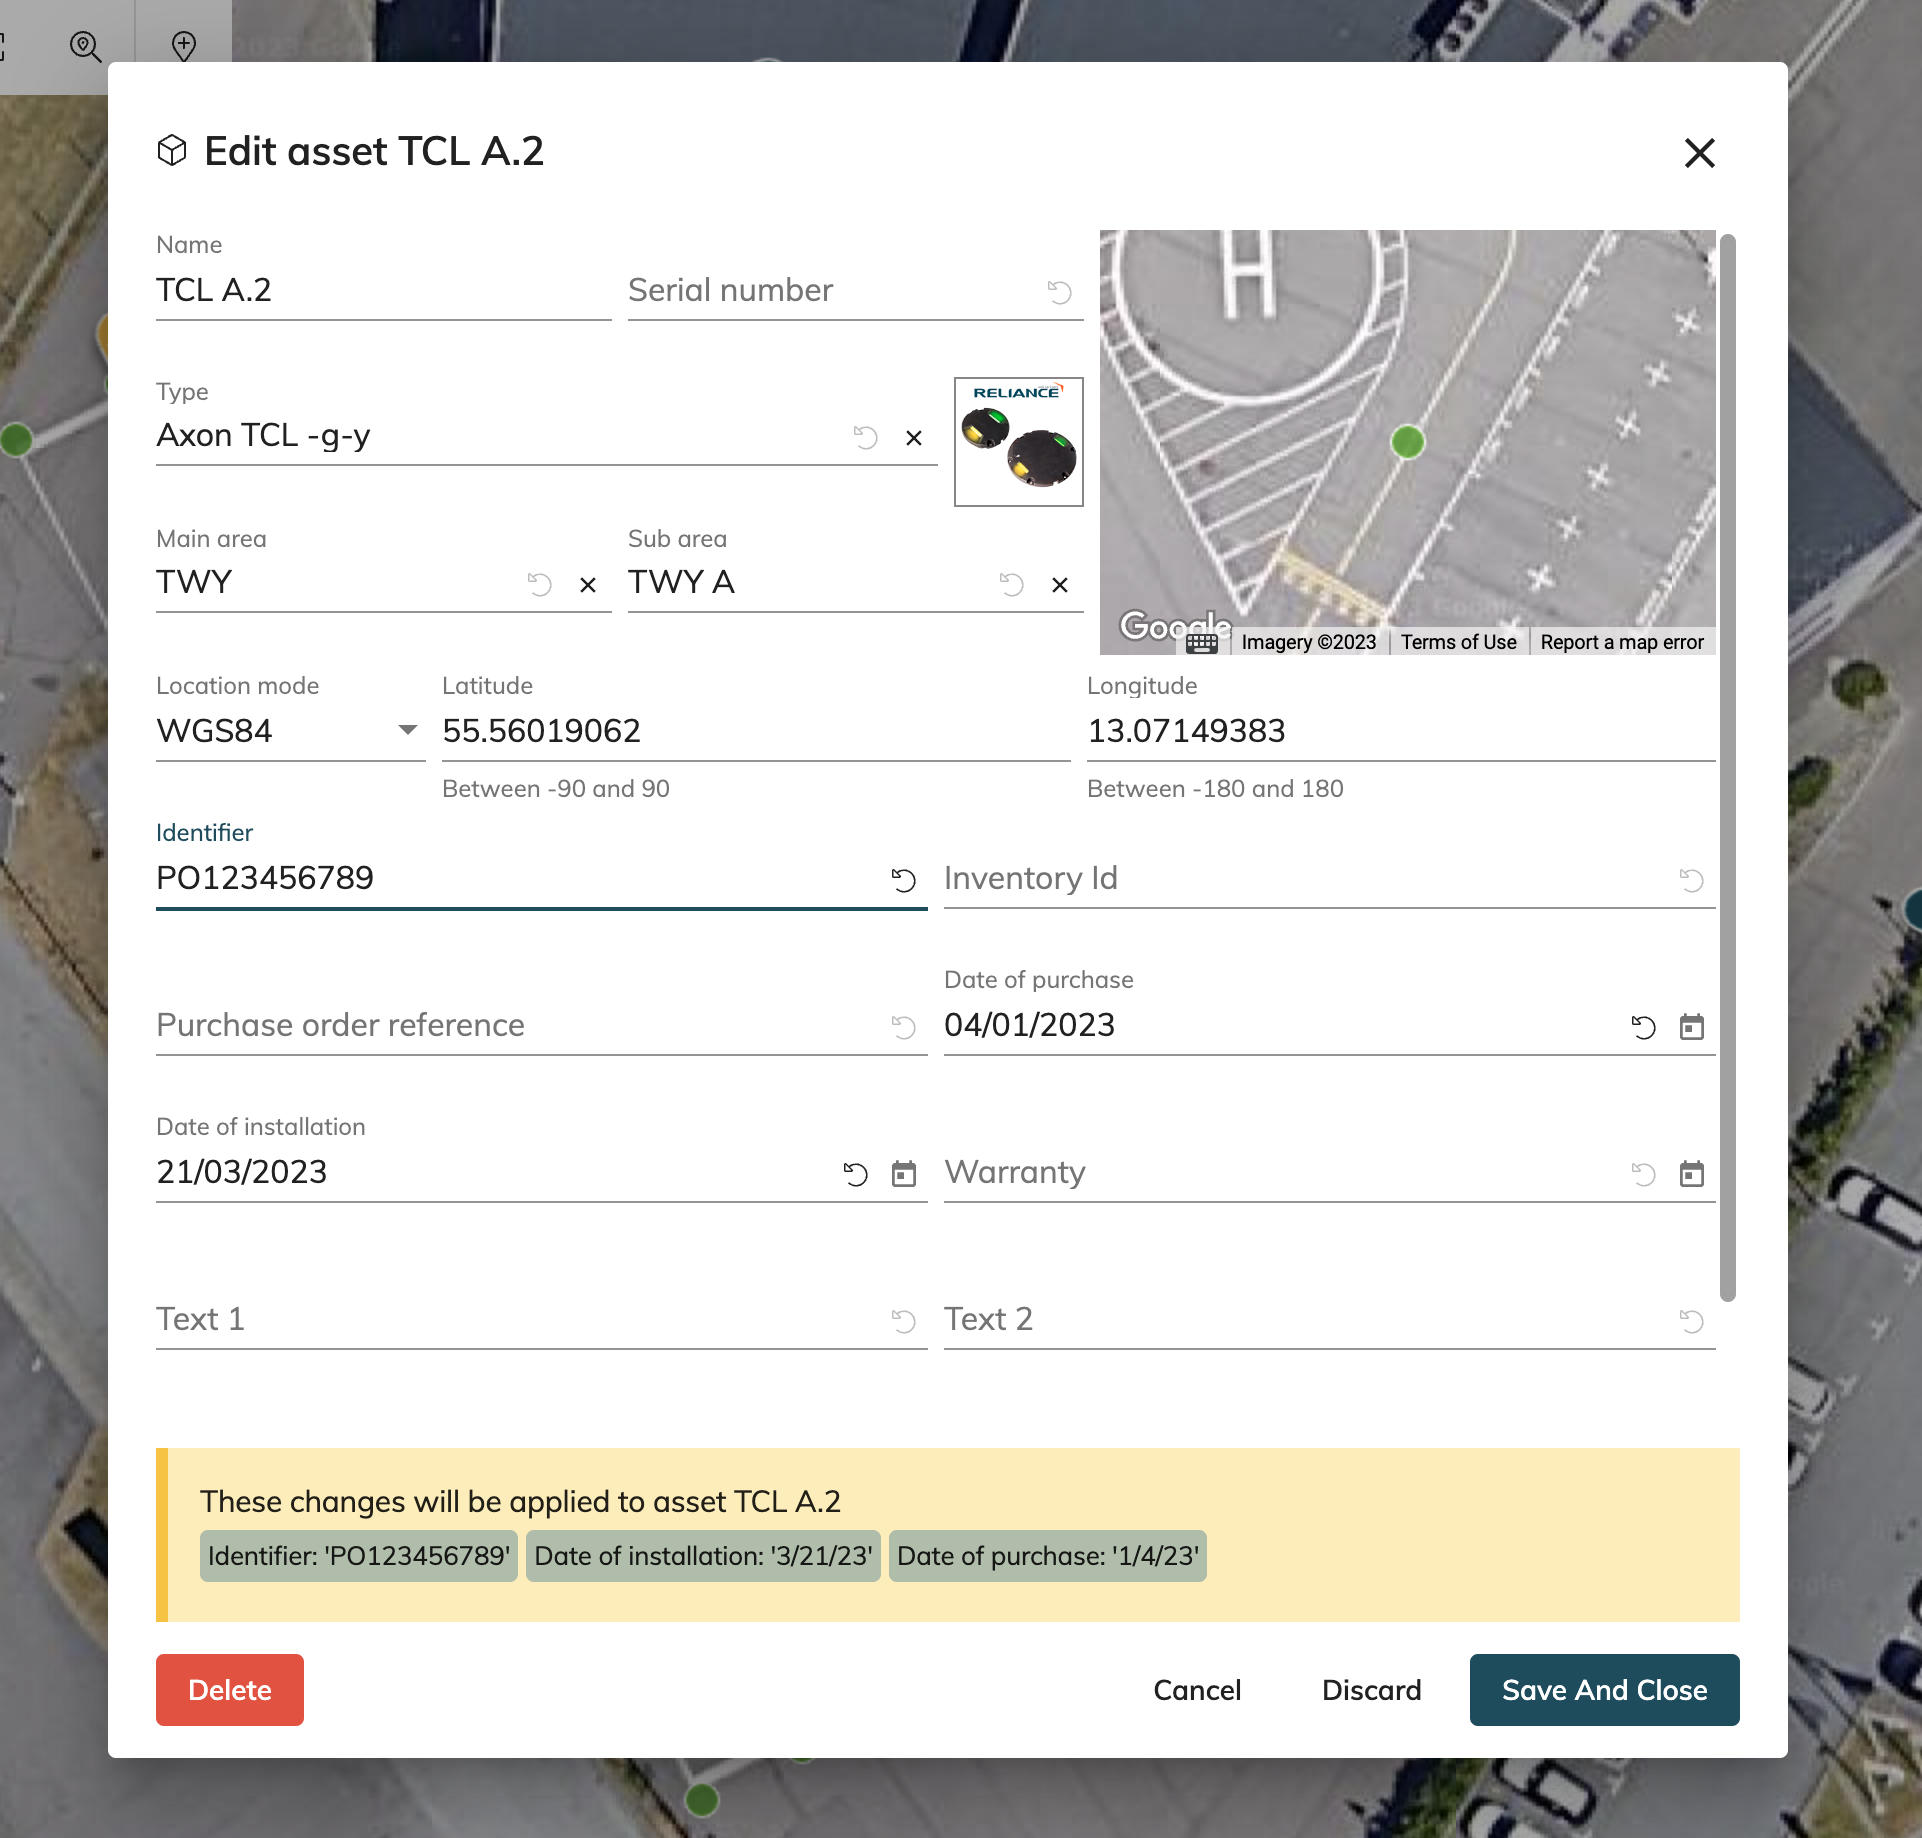
Example of single Asset Edit
Here you can
Edit name, serial number
Edit type (that was previously created in Asset types management )
Edit area
Edit location Move or reposition your Asset(s)!
Edit addition information fields
Delete asset
Editing the Main- and/or Sub Area will automatically add or remove the area’s as needed!
Deleting an asset will close any related observation and will be removed from Open and Closed work orders
Additional fields
The following additional fields are available for editing / populating in order to be able to track certain assets status, configuration, connection.
InstallationDate (Date Field)
purchaseDate (Date Field)
warrantyDate (Date Field)
specialInstructions (Free field)
genericText1 (Free field)
genericText2 (Free field)
genericText3 (Free field)
You can Import and Export these fields through Excel as well!
You can search and filter assets for these fields by using the “General information” filter

Selection mode
The selection mode can be found on the top of the MAP space.

Single asset selection
To select 1 element, use the normal arrow and click on that element to select it.
Multiple assets selection
To edit multiple assets at once, it faster to select the assets in bulk where you changes will be applied to all selected assets.
To add multiple assets one by one, use the following mode and click on the elements that you want.
If you want to unselect an asset, make sure you are still on this mode and click on an element to unselect it.
To selection multiple assets at once, you can use rectangular or polygon selection.
Rectangular selection | Polygon selection |
|---|---|
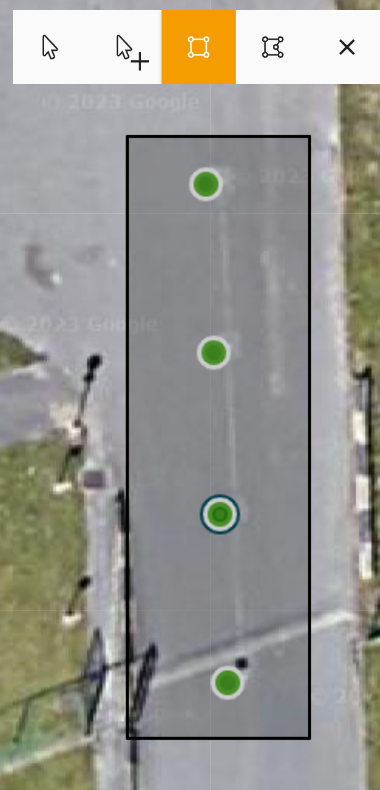 | 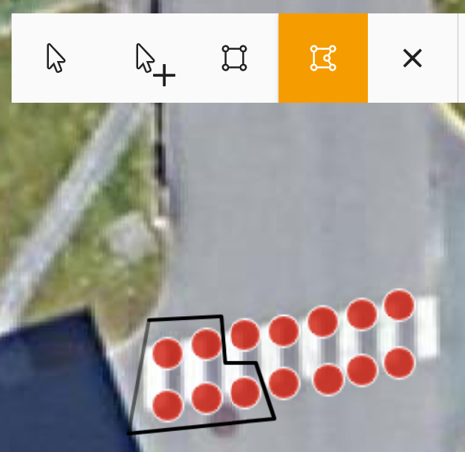 |
To remove all selections, use the X mode.
Edit multiple assets
On the top right of the MAP space, you will see a number of elements selected. Click on Edit Asset(s) and you can make changes to all of the selected elements at once.

When editing multiple assets, the names cannot be changed and there are some limitation with repositioning the assets.
Move or reposition your Asset(s)!
To move your assets, select single or multiple elements > Edit asset(s) > Location mode

There are options to reposition your selected asset:
by supplying a new position value (Multiple assets selection cannot use this option)
WGS84 (latitude and longitude)
UTM
by offsetting from its current location
amount of meter or foot in vertical and/or horizontal direction
Pro-tip: In the Offset mode, you can click on either the vertical or horizontal offset and use the scroll wheel on your mouse to move your assets faster.
Create Assets
Without having to import from excel, you can also add an asset using a drop-pin function at the top of the Map workspace next to the selection mode.
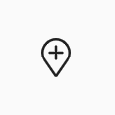
Once you click on it, you will see that a map marker will show up and there will be more options to choose what you want to do with it.
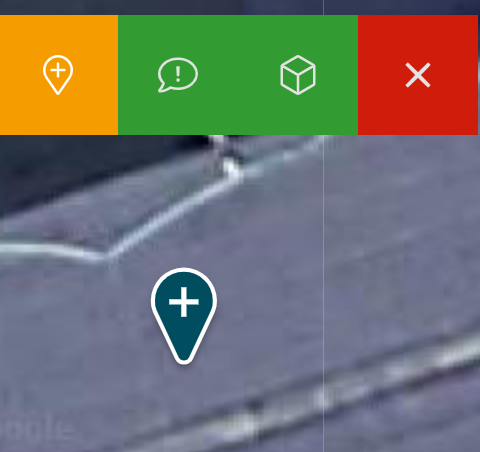
You have to
Drag the map marker manually to the location where you would like to add an asset (the location can be edited later)
Click on the green box

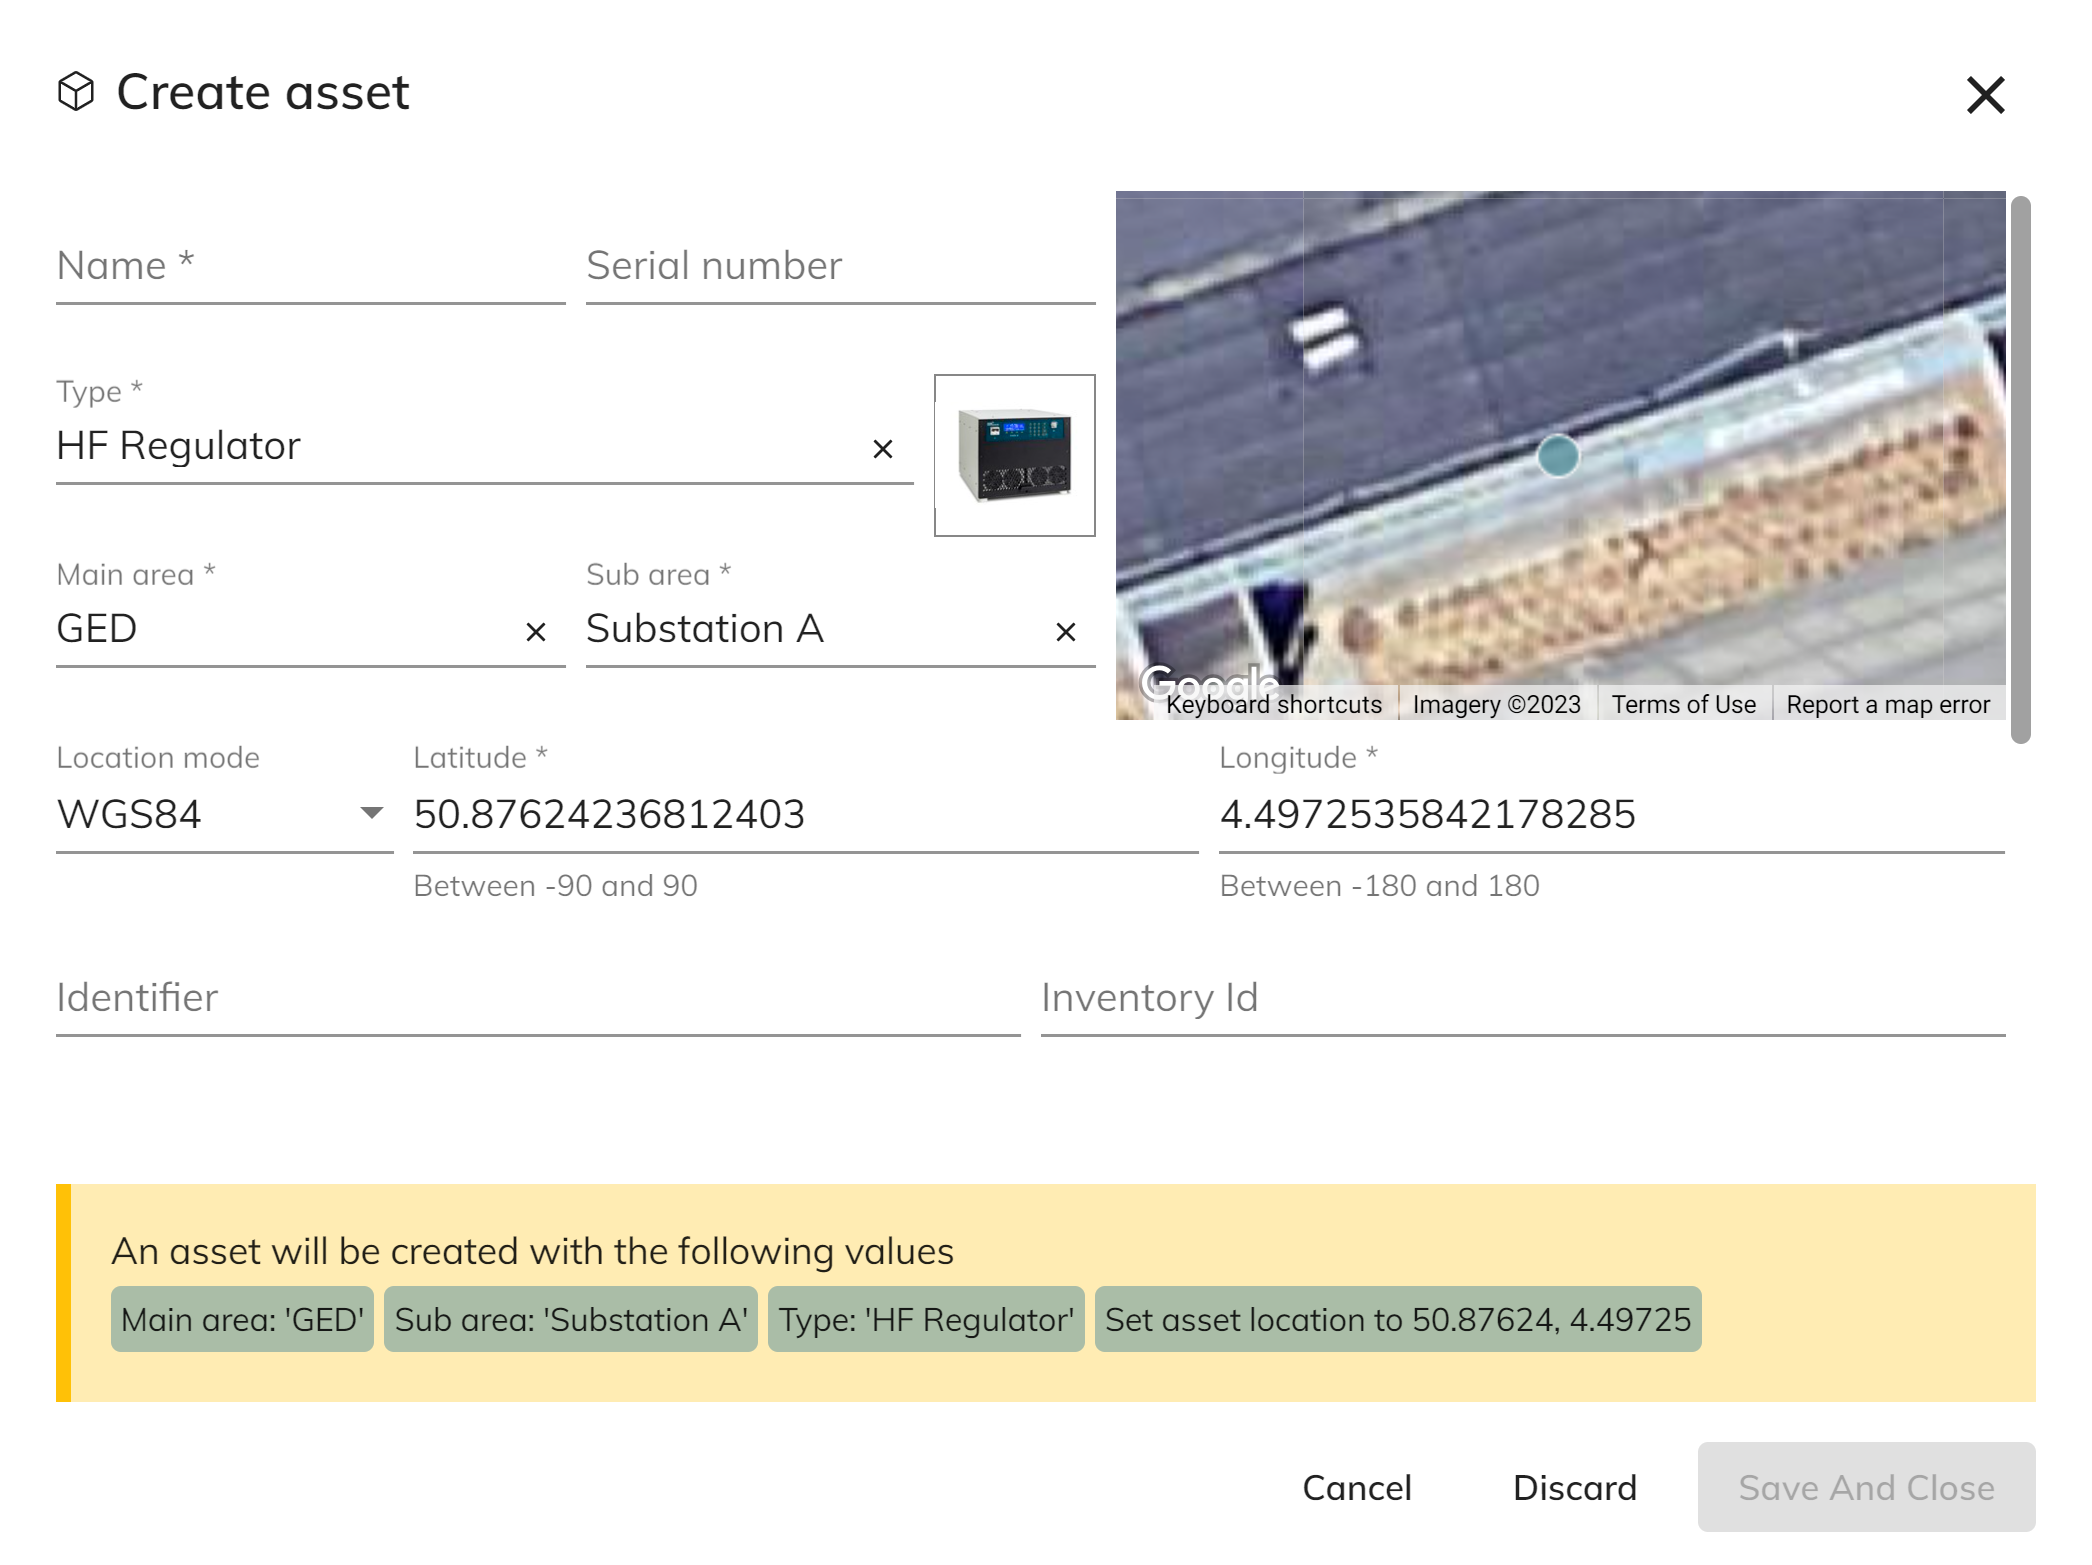
In “Create asset”, you can insert Name, Serial number, type, area, location, etc.
Assets History
You can view the “History” of assets if you scroll down to the bottom of the right panel.
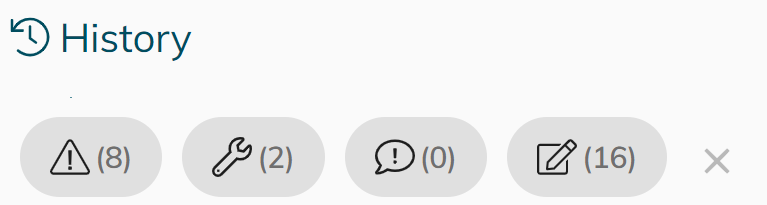
You can filter the Asset History to find out quickly what really happened to this asset in the past and how many are there.
Here you can
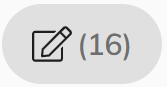
Filter faulty/non-faulty asset
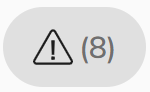
Filter for only torque/validation task/photometric measurement

Filter for observations created or resolved
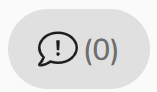
Filter for asset data or identifier change
Clear filters using X
This way you can focus on Observations, Faulty state, edit history … and not be distracted by the other registrations.
Want to do some reporting on what has happed on your instance as whole? You can export the asset history from the reporting tab in the map and use the “Asset History” template!
Feed your file into Excel pivot tables or a PowerBi for lots of great value!