iOS app and hardware - First time use
This section is valid for new Apple mobile devices or if the software needs to be (re-)installed on a iOS device.
If your system was commissioned by an ADB Safegate Engineer - you can continue to Getting started with CORTEX Service on-site .
Here we will cover the installation of the software on your iOS devices for the first time and installing possible updates for them.
Installing the iOS software
When your CORTEX Service environment is created by ADBSAFEGATE your administrator will receive the credentials to login to web airportIATA.adbsg-alis.com. Your Administrator can then create the necessary accounts in the System Users > Create New User.
For access to the web application and able to create new users need to be either a Web App Administrator or an Airport Admin.
For access to the iOS app you need to have a technician account or work order-recipient permissions.
Once logged into the CORTEX Service instance, navigate to the "?" on the top right of the web then click → Get iOS Application.
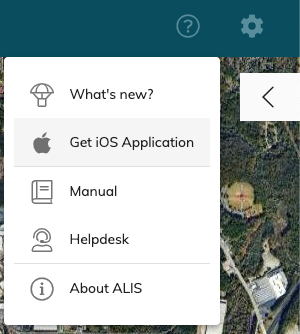
You can now scan the QR code with your mobile device as below and hit the "Install iOS app now" and follow the instructions
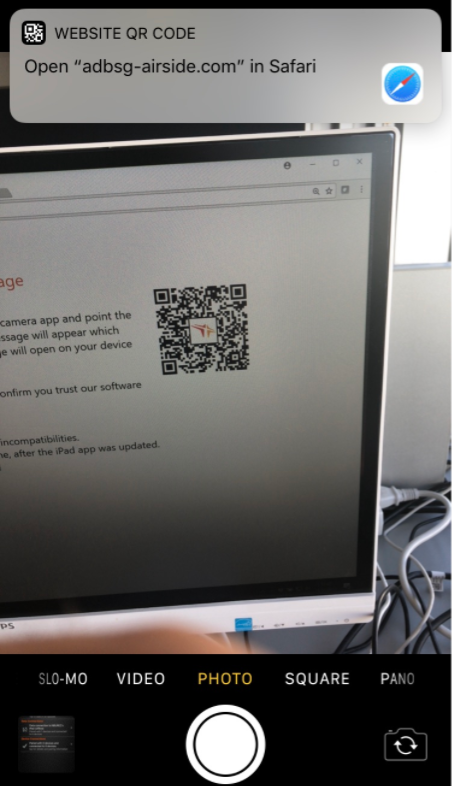
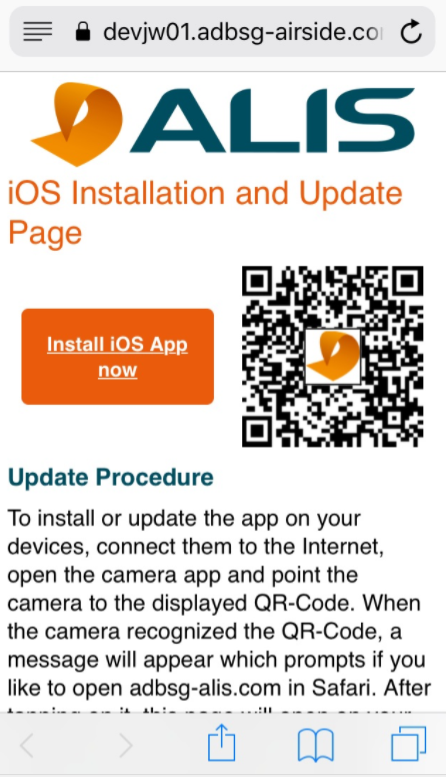
iOS App installation/update
To install or update the app on your devices, connect them to the Internet, open the camera app and point the camera to the displayed QR-Code on the iOS Installation and Update Page. When the camera recognized the QR-Code, a message will appear which prompts if you like to open this iOS Installation and Update Page in Safari. After tapping on it, this page will open on your device and you can install the app by tapping the Install iOS App now button.
When you run an ADB SAFEGATE application for the first time, iOS needs you to confirm you trust our software certificate. Please confirm you trust the certificate and continue.
Please visit your iOS onboarding Page for more info on how to trust the certificate. (CORTEX Service instance → ? → Get iOS application
Note: All iPhones and iPads should preferably have the same version of this App to avoid incompatibilities.
![]() If you have other devices that already have app, simply go to the Connection center → Data Connection and you will find the same QR that can be scanned or shared by the device that needs to receive the software! The will bring you to the same iOS Installation and Update Page from the web-app.
If you have other devices that already have app, simply go to the Connection center → Data Connection and you will find the same QR that can be scanned or shared by the device that needs to receive the software! The will bring you to the same iOS Installation and Update Page from the web-app.
First time Login to the iOS app
When you have succesfully installed the app and Trusted ADB SAFEGATE in the Devicemanagement so you can launch the application you will see the following screen.
![]() You can approve the different Pop-up requests on network detection, Bluetooth access and location.
You can approve the different Pop-up requests on network detection, Bluetooth access and location.
You can Start the Login process by pushing the button and provide your instance identification ( which is mostly your airport IATA code or your CORTEX Service instance URL; eg:
The device will now make a connection with your instance user management database and ask you to validate your access with the same credentials you use to login to the webapp.
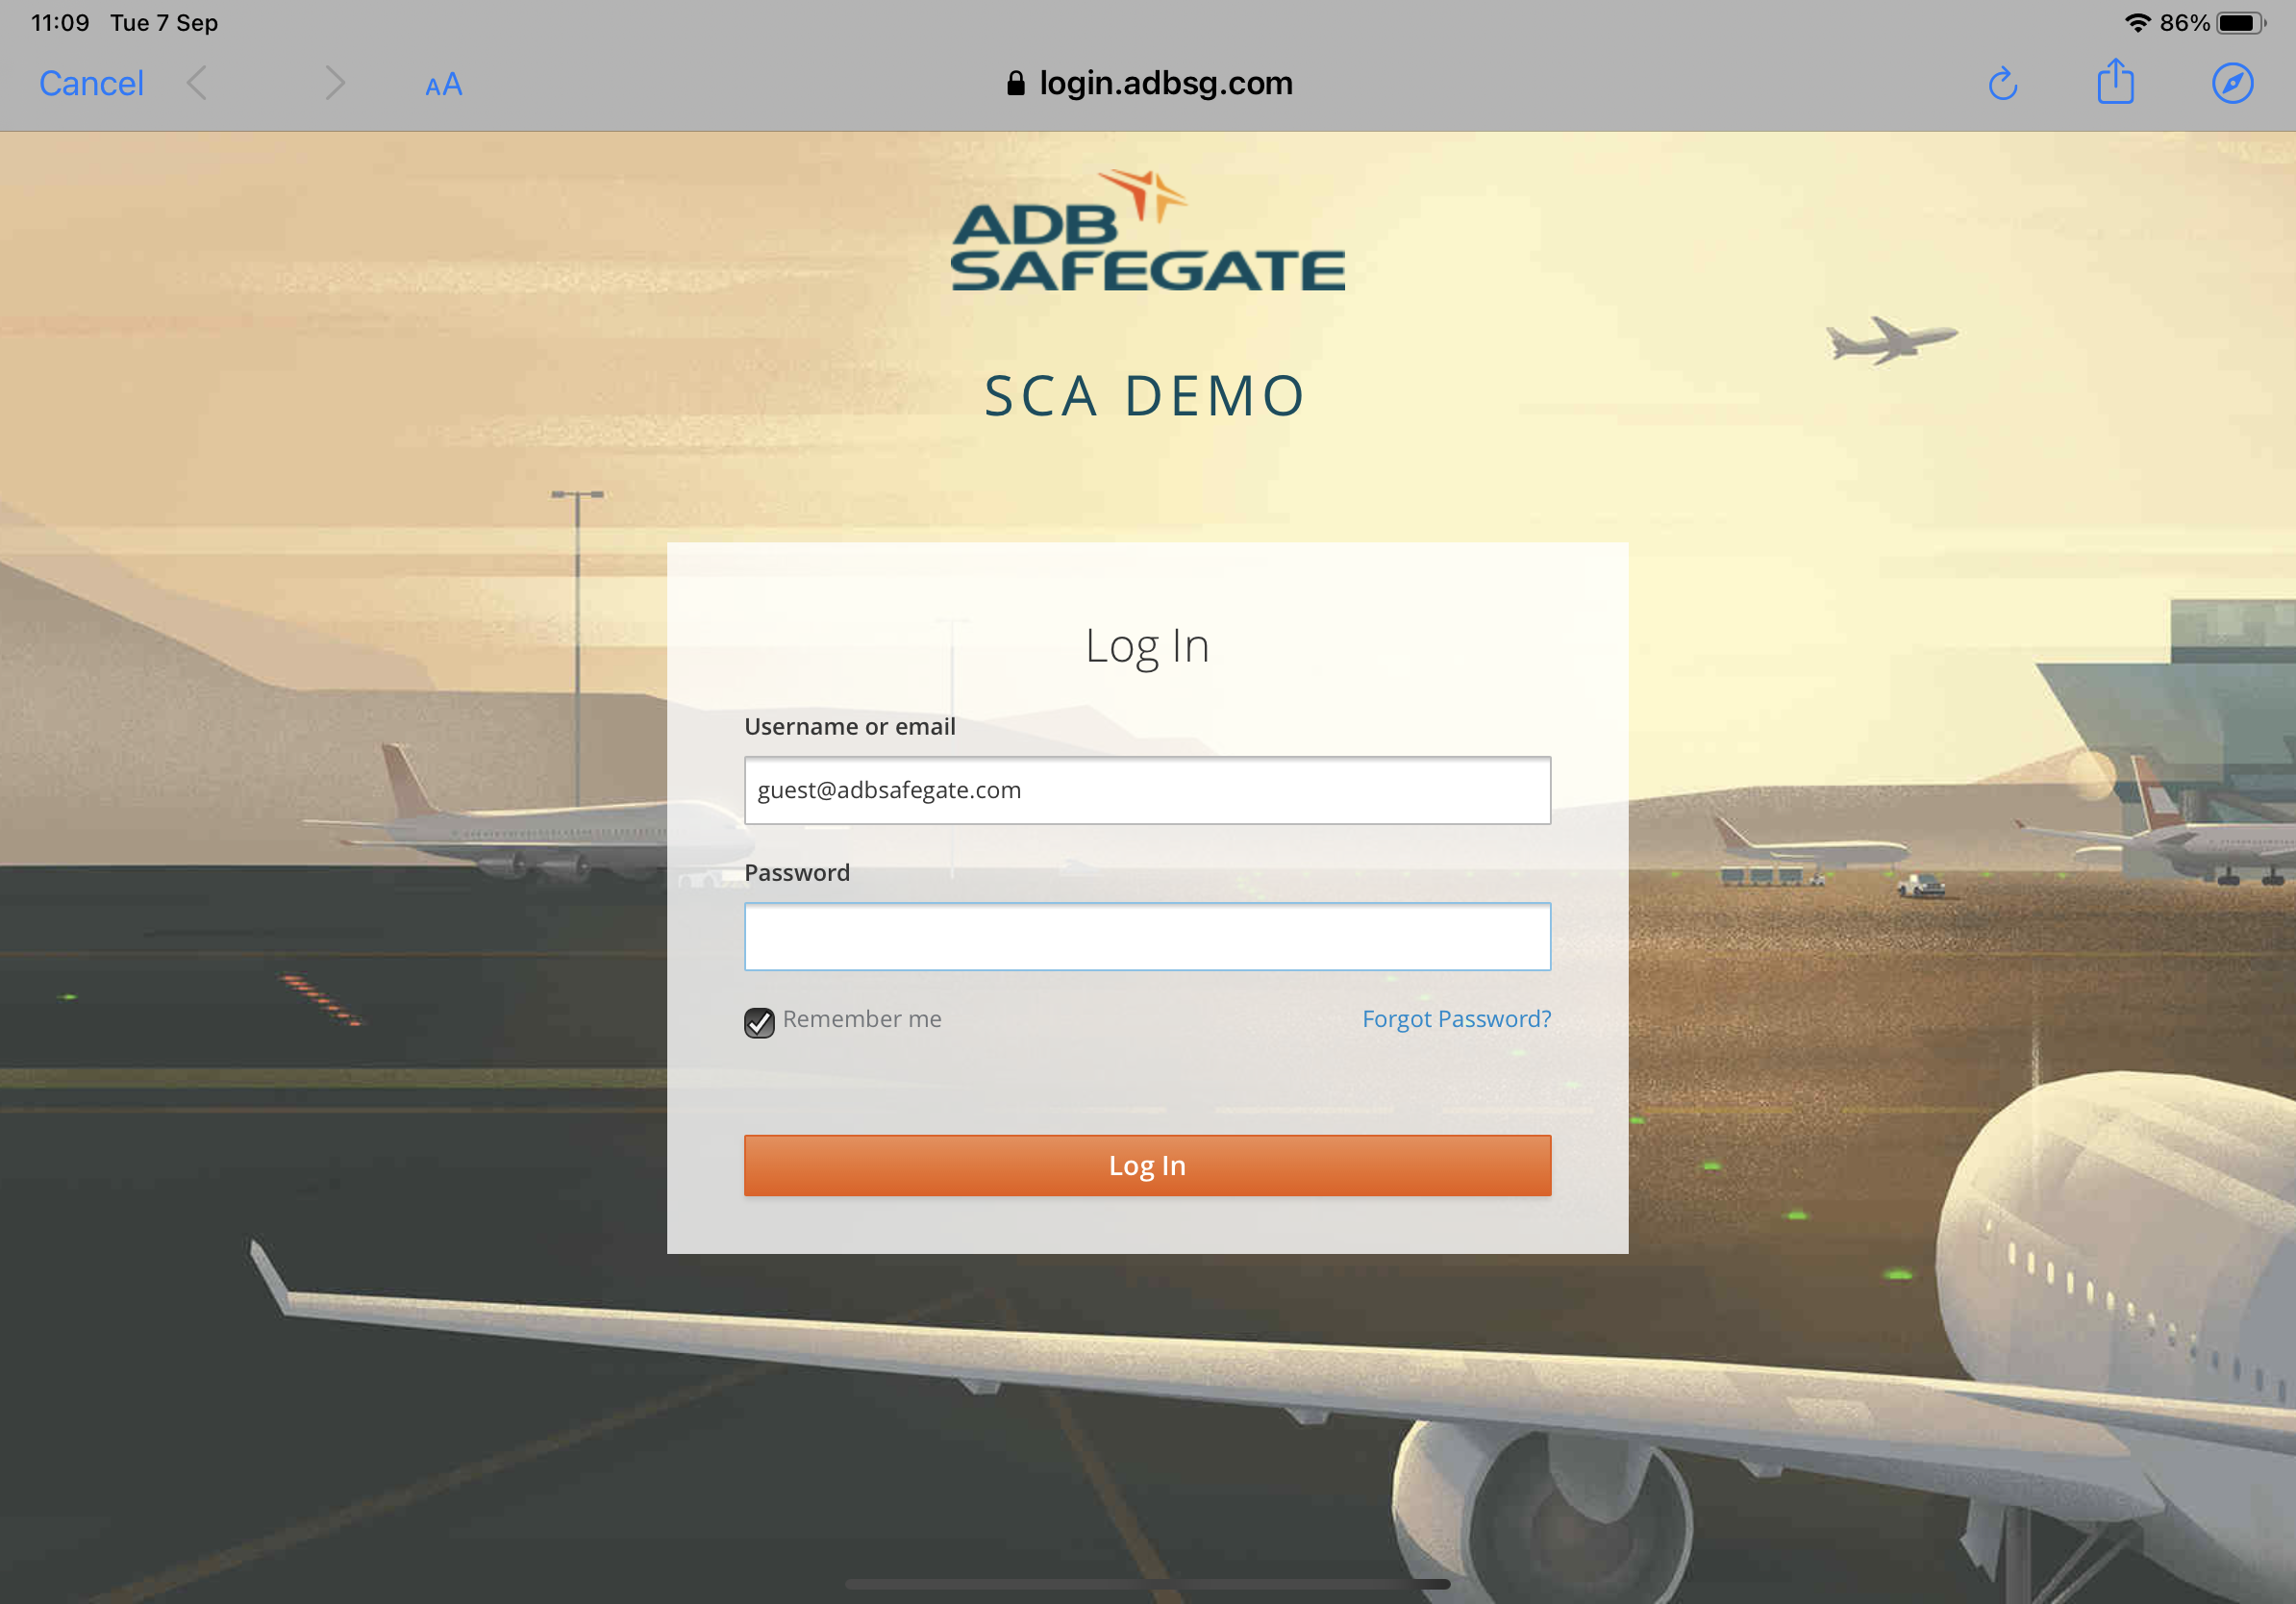
If this is the first time you try to access your account the system will ask you to verify your email account:
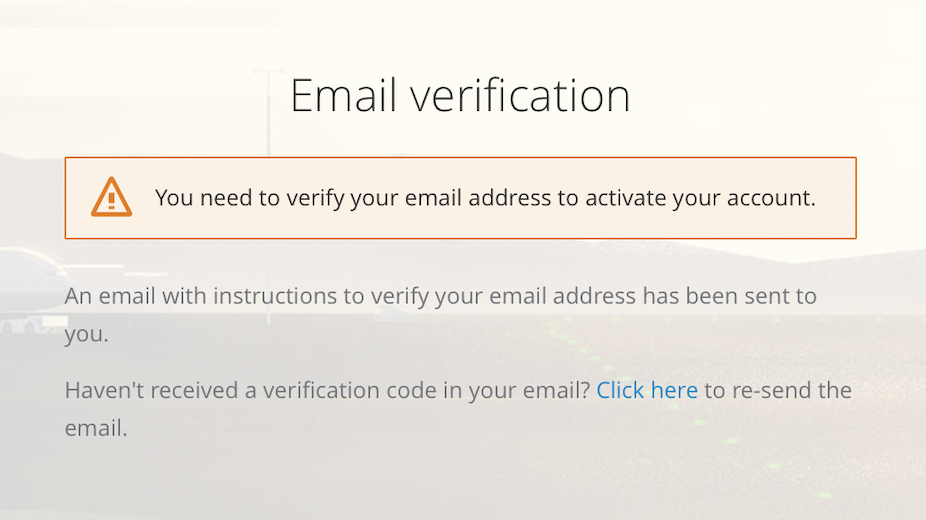
You will receive the following email where you can hit the link to activate your account:
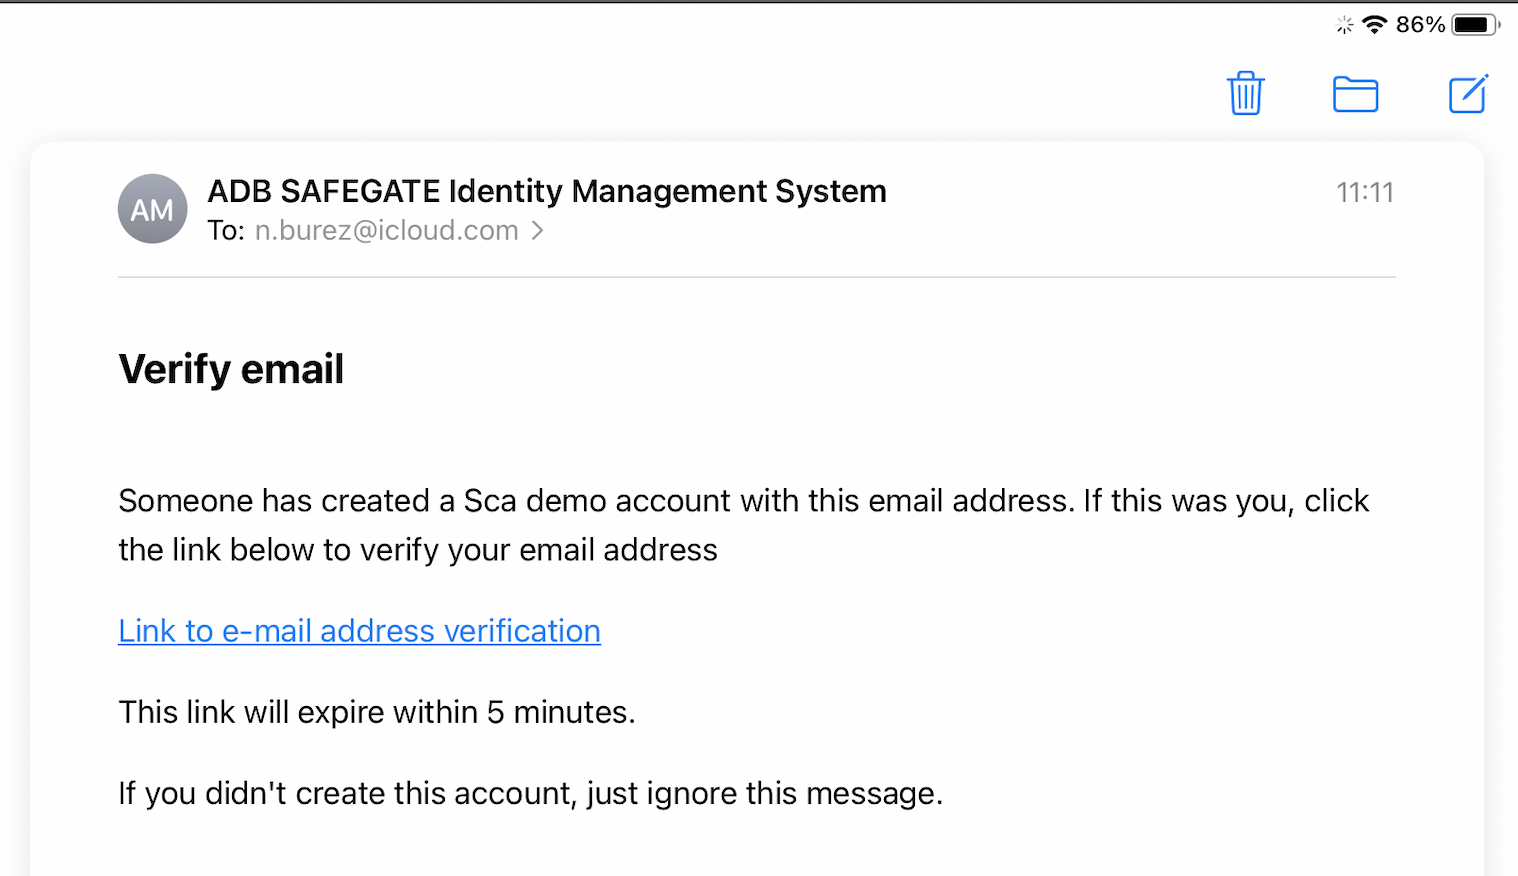

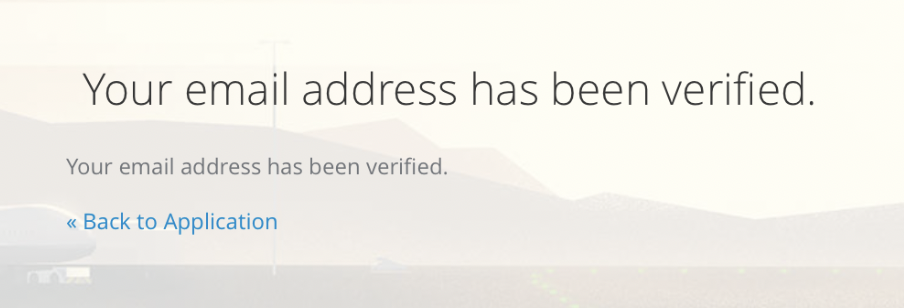
After the successful verification ( only for first time login) you can go back to the iOS app login screen and give your instance id again and login once more.
After a succesfull login you can now choose a 4-digit code for easy login and account protection on the device you are using. This pin by default to protect your account from unwanted access.
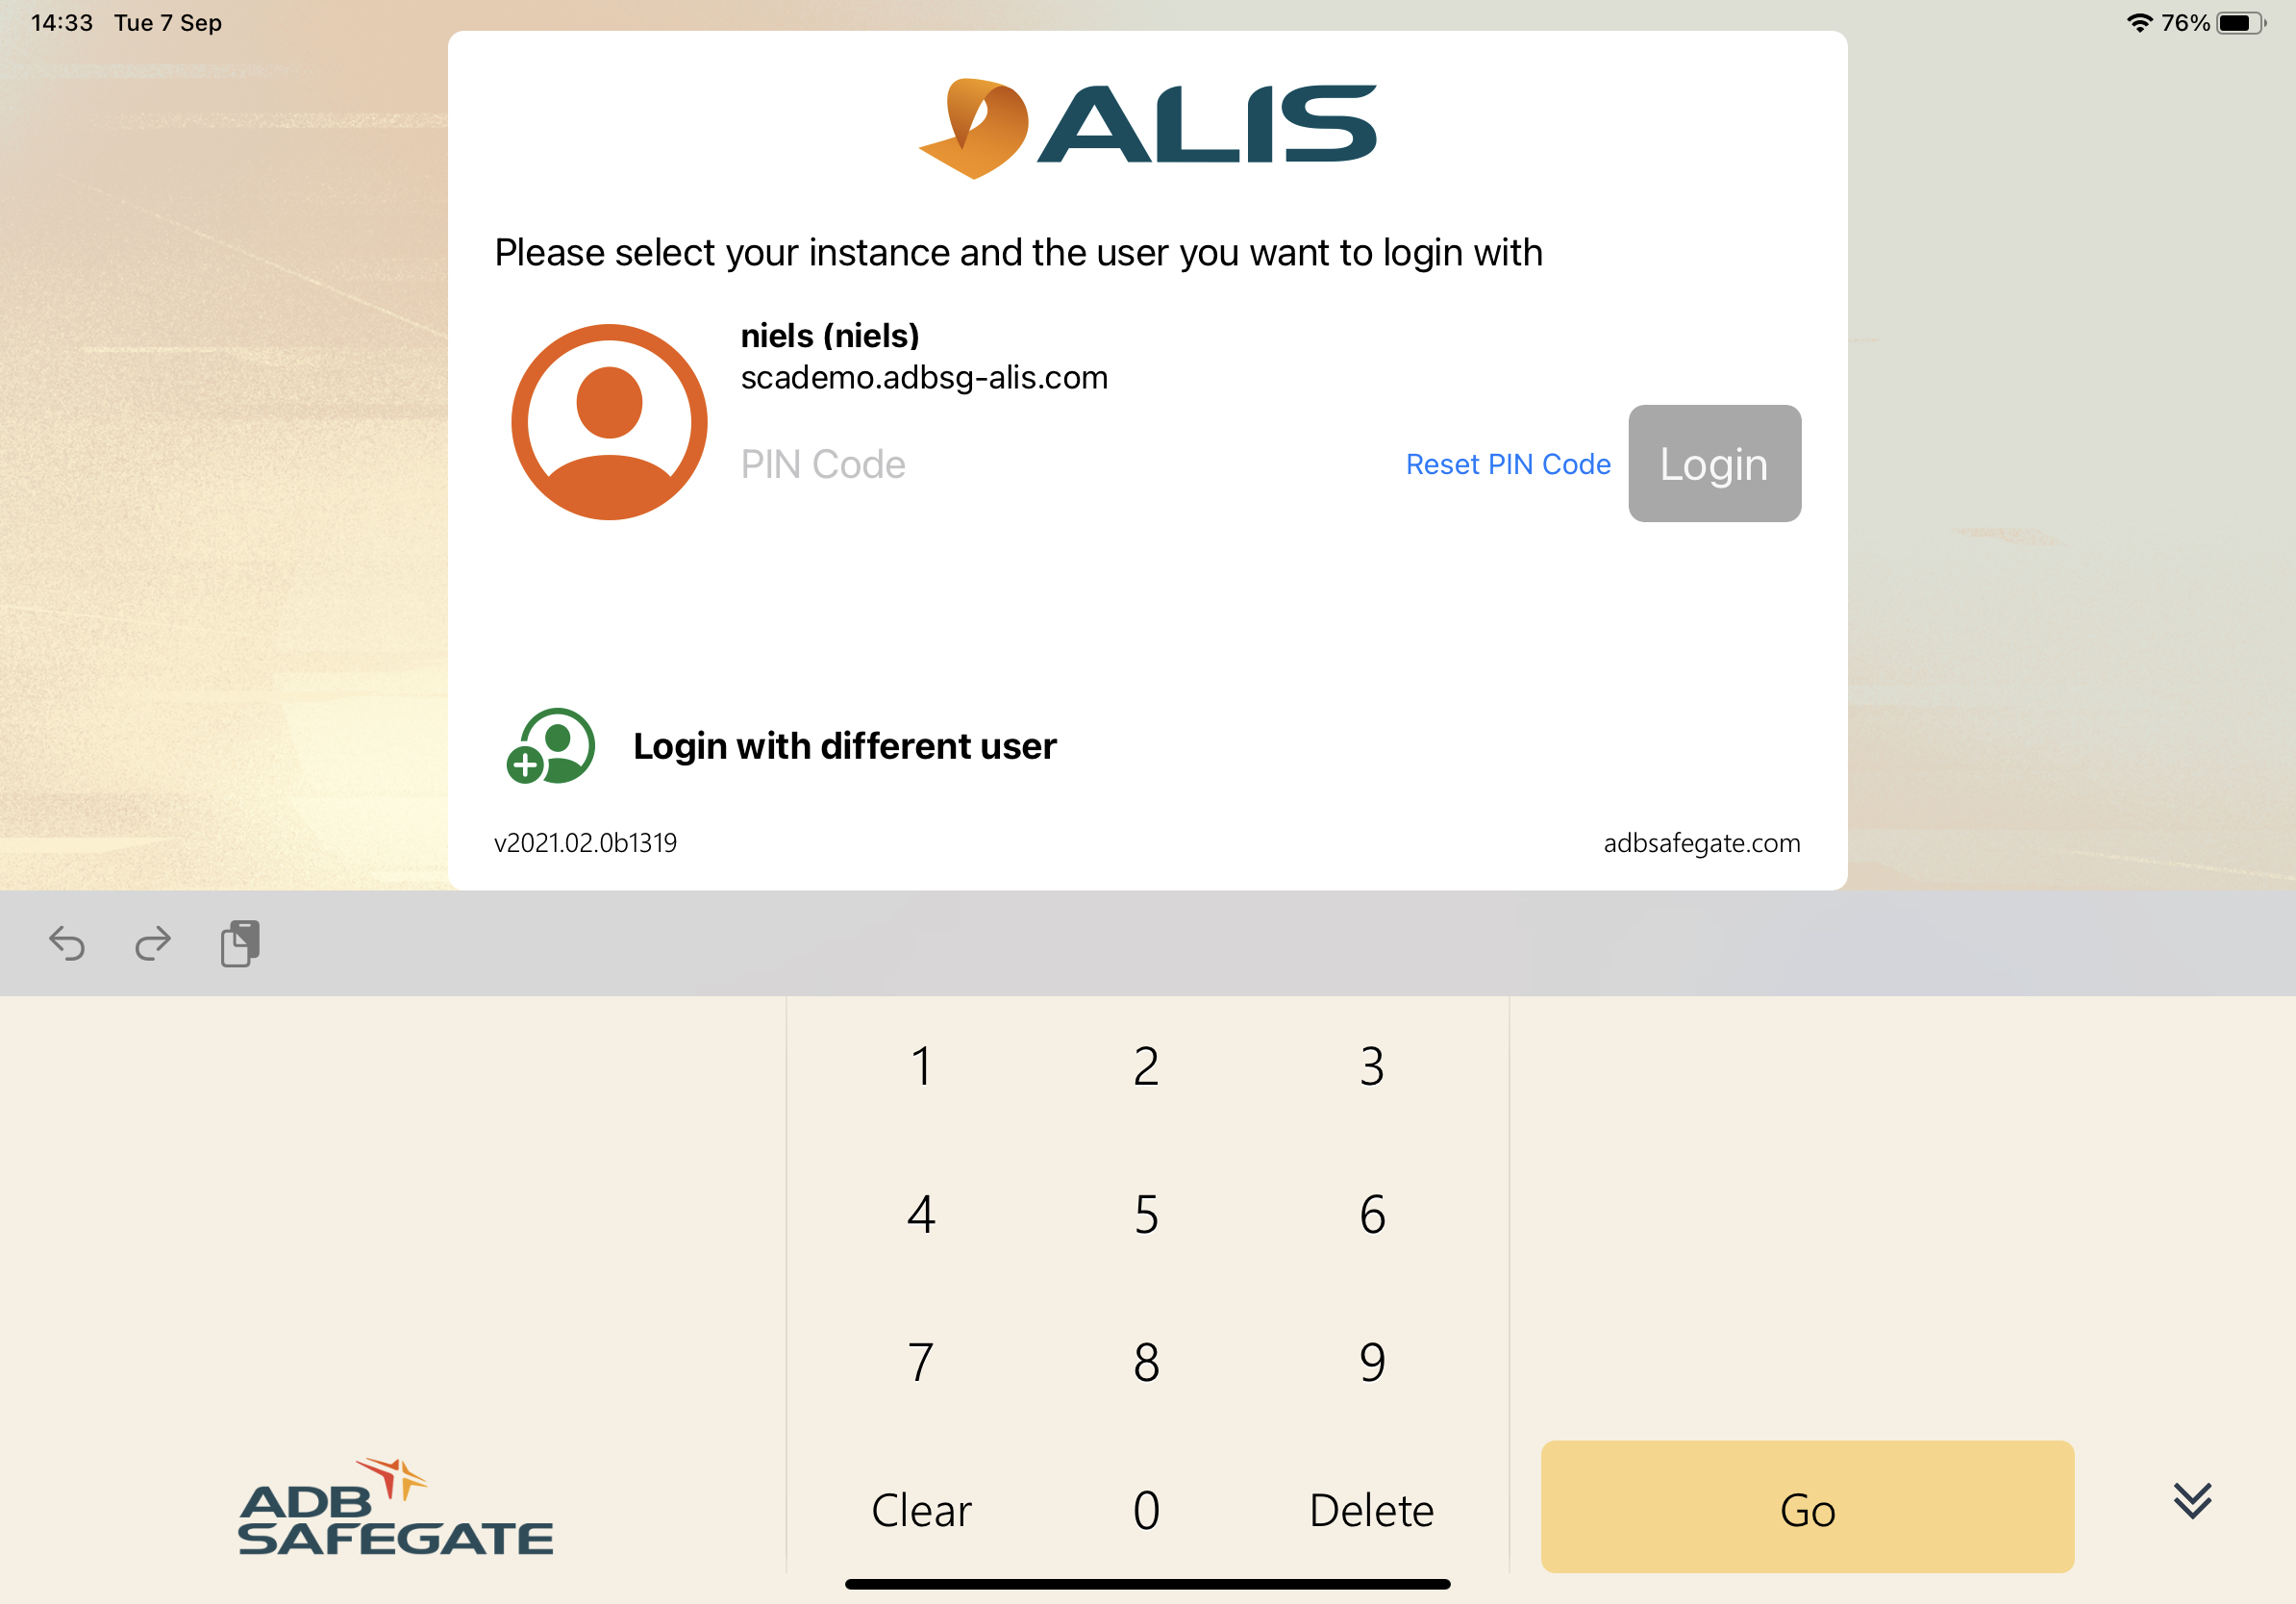
After setting your PIN - you will now be able to login to this device by simply selecting your account and entering your Pin code.
![]() Make sure to approve the request pop-up's or to select "Always Allow" in order to use the CORTEX Service application as designed for use.
Make sure to approve the request pop-up's or to select "Always Allow" in order to use the CORTEX Service application as designed for use.
Connection setup
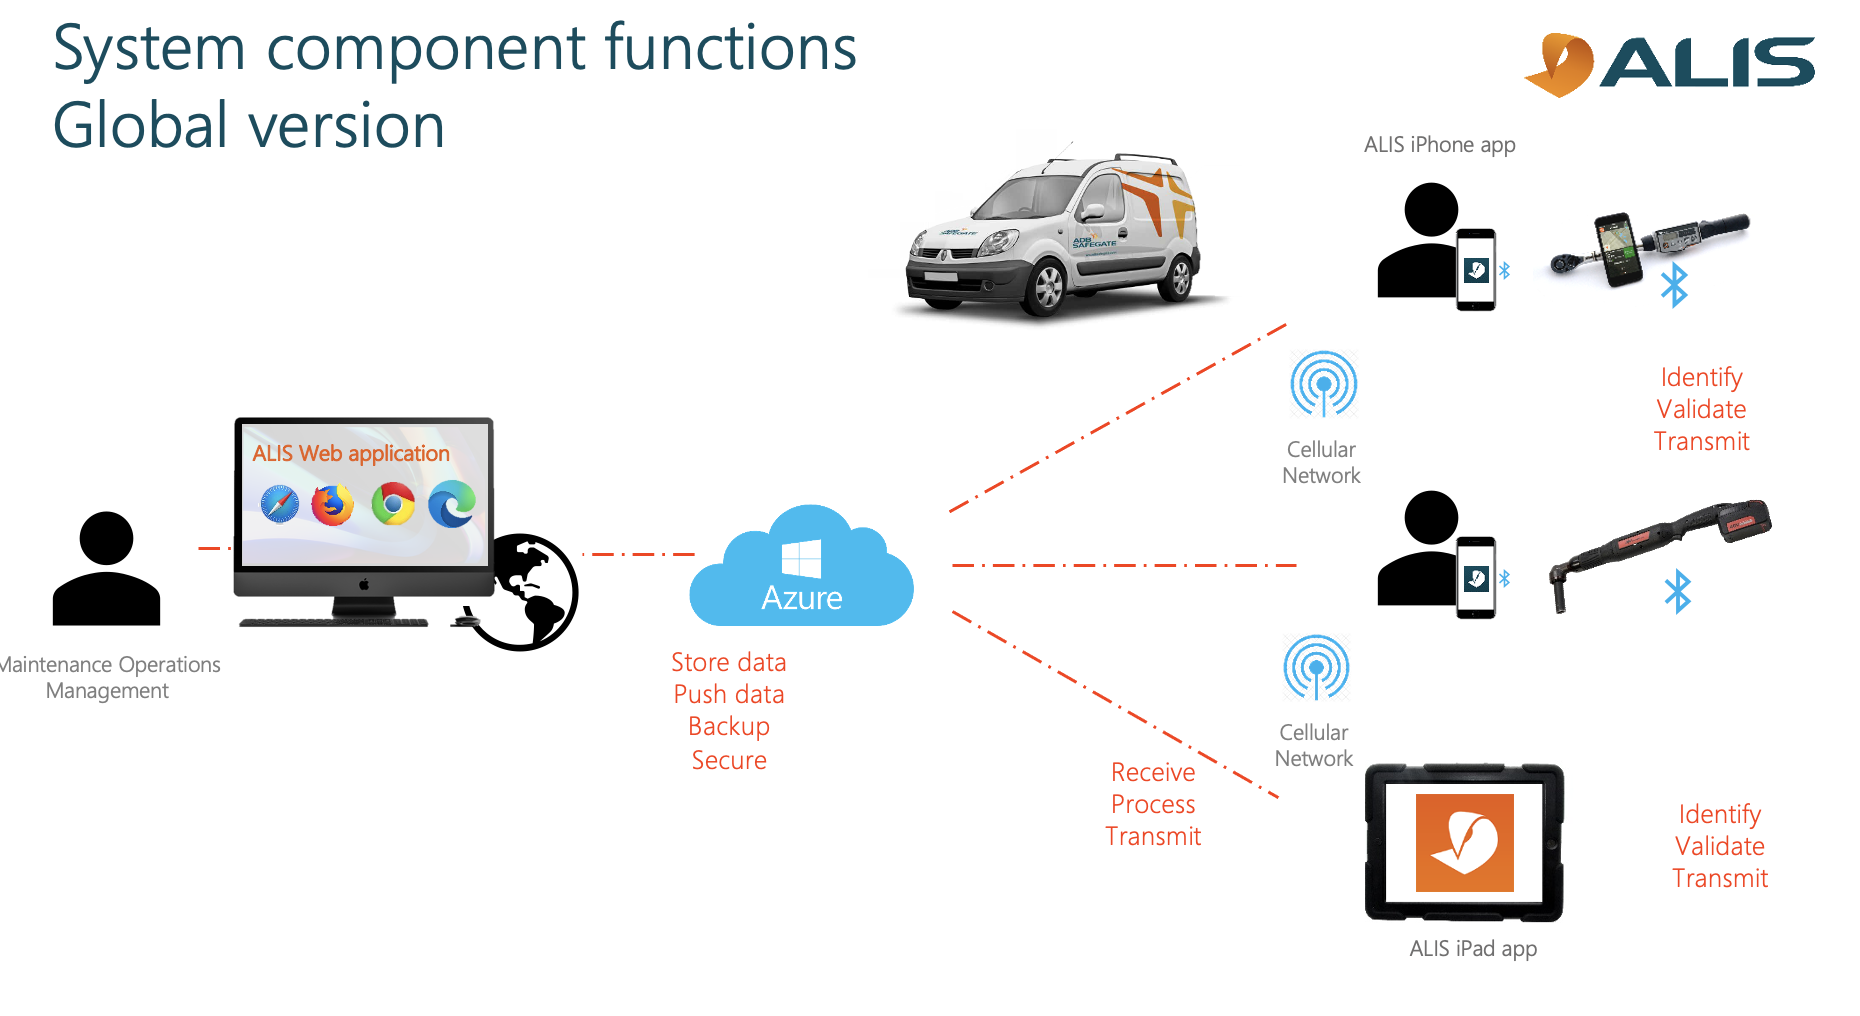
The iPad and iPhone application for CORTEX Service will remember previous made connections to the devices to make it easier to start working in the future. We need to however do a pairing between the devices a first time. We have made this process as easy as possible for you. Once a device is paired with another, they can be paired with others afterwards but will lose the previous pairing connection. So, when you have established your group of devices to work together it's less effort to keep them in this group.
Pairing a Trimble Location device or AirTorque wrench with the iPhone
To pair a device with the iPhone, you also start off in the connection center in app. Select "Device connections" and hit the 
You can now choose between pairing a Location device , Bluetooth enable wrench ( AirTorque) or Ingersoll PCM module.
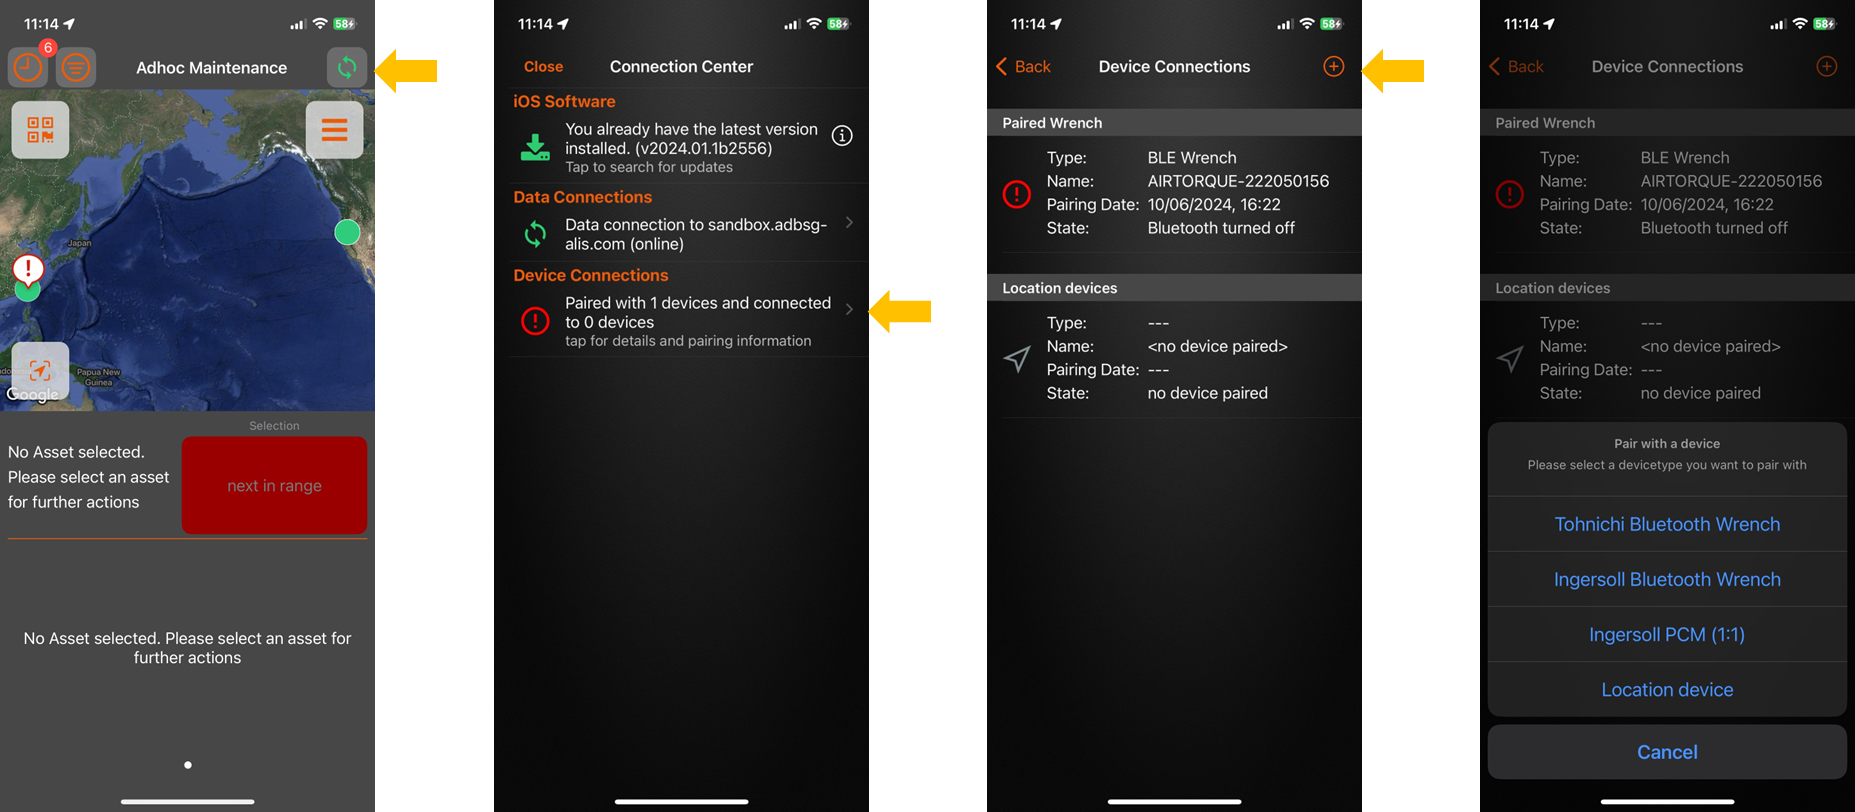
🪄 Pairing a AirTorque wrench - Tohnichi type & Ingersoll Rand QX BLE
Before making the selection above - First power on the AirTorque by means of the Power button . The Bluetooth chip will automaticaly be activated.
Now select “Tohnichi Bluetooth Wrench” or “Ingersoll Bluetooth Wrench” accordingly from the selection menu-descirbed above.
Now hold the wrench (powered) close to the iPhone …
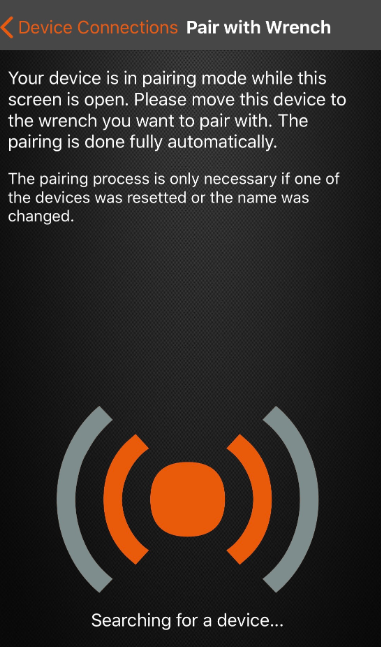
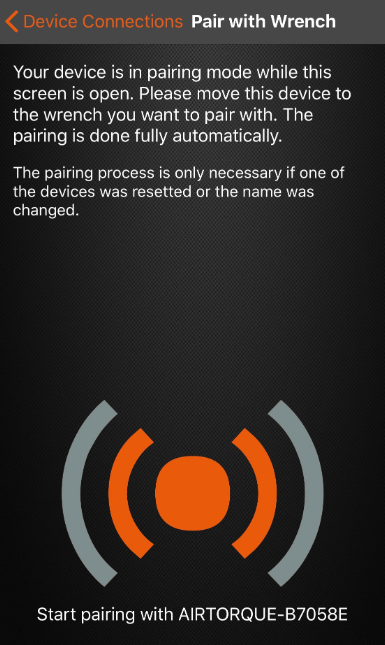
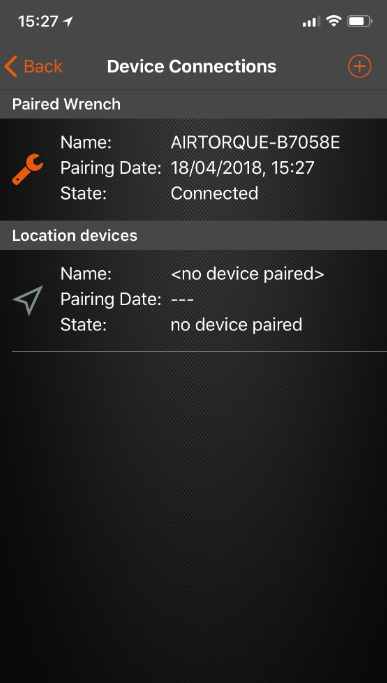
The AirTorque is now Paired and will automaticaly be connected whenever the wrench is powered and withing the range of the iPhone ( 10 m )
Pairing a Location Device for Trimble R1
![]() Location Devices are by default only paired with the iPhone but not iPad - If this device is going to be utilized from iPad (i.e. inspections with iPad), then this device can also be paired through the standard bluetooth settings of the device . See Apple iOS Bluetooth pairing support for more info on this.
Location Devices are by default only paired with the iPhone but not iPad - If this device is going to be utilized from iPad (i.e. inspections with iPad), then this device can also be paired through the standard bluetooth settings of the device . See Apple iOS Bluetooth pairing support for more info on this.
Power ON the Trimble R1 Location Device by pressing the power button until you have 2 green LED's, then release the power button - For more info on the Trimble GPS device, please find it in the CORTEX Service Devices Info. Once the right LED (blue) flashes, open the connection center in app and go to "Device connections".
Under Location Devices you can now tap the connect button. A pop-up will appear, where after a few seconds, you can select the the Trimble Device ( named "GNSS:xxxxx " ).
![]() If you cannot see your GNSS device after more than 10 seconds -the go to your iPhone Bluetooth settings and see if you can manually connect to it first here. For more information - Apple bluetooth connection setup
If you cannot see your GNSS device after more than 10 seconds -the go to your iPhone Bluetooth settings and see if you can manually connect to it first here. For more information - Apple bluetooth connection setup
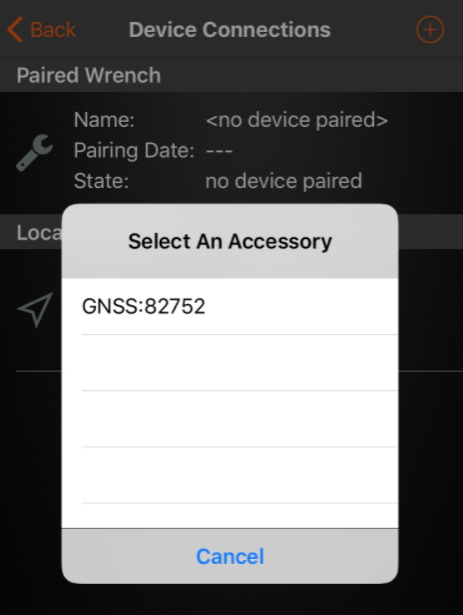
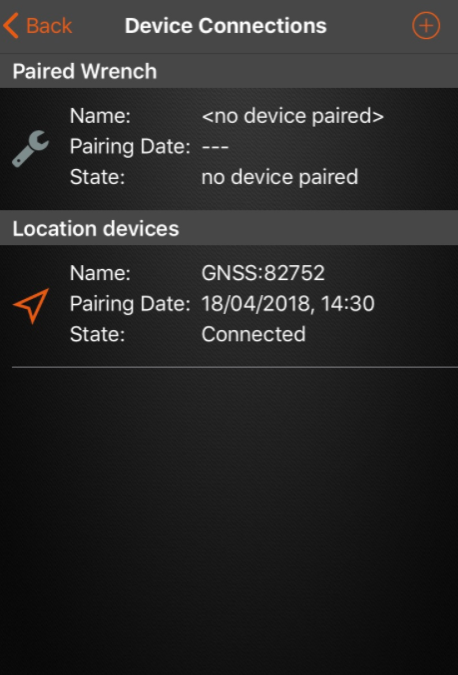
The device is now connected and Paired to the iPhone
When the Trimble R1 is running firmware v5.44 or higher the device will automatically reconnect to it's last connected device. If this does not happen, please update your Trimble device.
From Trimble R1 version 5.44 and later : Once the Trimble is powered up - it will automatically reconnect to it's latest device it was connected to; There is thus no need to connect the devices again - if they where connected together earlier.
To shut down the Trimble device, hold down the power button until you have 1 red LED then release the power button. For more info on the Trimble GPS device please find it in the CORTEX Service Devices Info.
